Broken Hardware, Fixes and Hacks over 8 Years
2016-06-21 · Hardware · FrugalityAfter reading the feedback of my recent article about running DDNet, I noticed that people found it interesting how I’m trying to minimize money and resources. I also noticed that I had been doing something similar with my personal computing hardware setup for an even longer time.
I’ve mostly been using the same hardware for personal computation purposes over the last 8 years. In this article I want to talk about some of the hardware I’ve been using, how it broke and how I fixed the problems or worked around them. My goal was to be frugal about hardware, to keep using the same hardware for a long time and repair it when possible instead of simply buying new hardware.
The reason for this post is that I’m moving and abandoning my old hardware setup. There may be some interesting tales in here. Depending on how you value your time it is probably cheaper to simply buy new stuff instead of repairing old ones, but I consider it a fun activity and a much more rewarding experience.
Whether you call it planned obsolescence or just cheap manufacturing, it’s a fact that electronic hardware tends to break rather quickly. Most reviews don’t take any note of this and so it is difficult to find out which hardware to buy if you value durability. The best I can do is tell you what you should and should not have bought 8 years ago.
For each of these topics there are probably much more detailed reports and guides online, so I will keep it short and just give an overview. If you’re interested in fixing your own hardware, a search engine of your choice is your friend.
Tools used
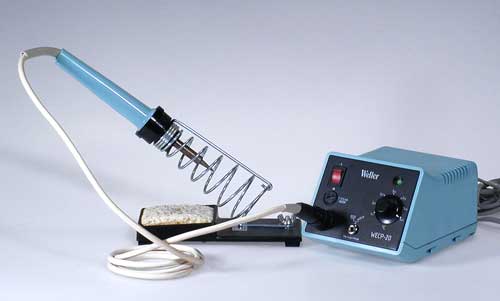
The tools I use are absolutely simple: Mostly I just used a Weller WECP-20 for soldering, regular screwdrivers and some other, older hardware to steal replacement parts from. Nothing fancy and I don’t claim to do anything special with it.
Liquid-Crystal Displays
Let’s start with what in my experience was the most common problem in consumer electronics, resulting in their failure: broken capacitors
Or at least it was a major problem for me, probably because much of my failing hardware was produced around the time of the capacitor plague.
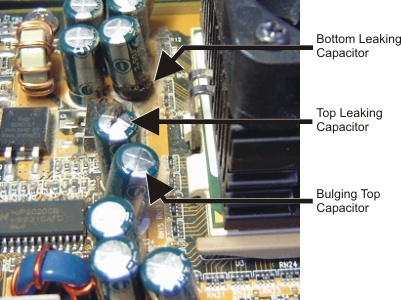
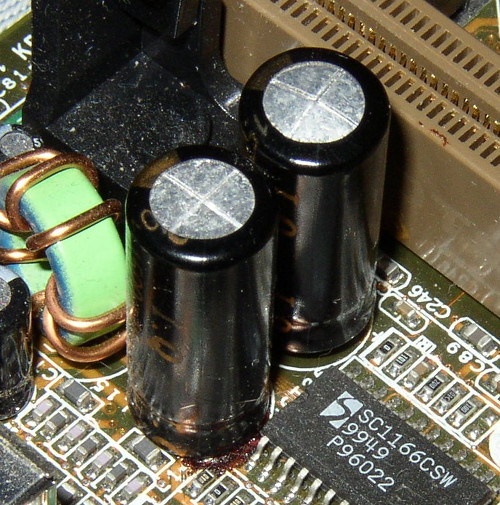
On the right picture you can see difference between a good capacitor (left) and a bulging capacitor (right).
I used a BENQ FP91GP display for the entire time. At some point I also added a used Samsung SyncMaster P2250.
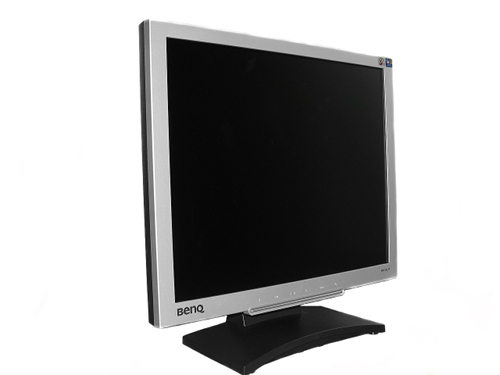
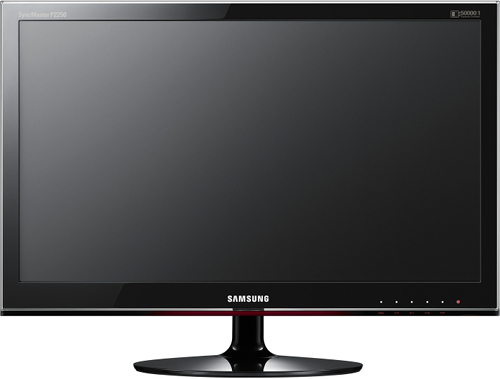
Both of them failed at some point, stopping to display anything and making high-pitched sounds instead. So of course the first thing I did was open them up. In both of them I found the exact same thing: Bulging capacitors
When you open up hardware you have to be careful about electric shocks. I never received one, but especially power supply units (PSUs), which were the broken parts inside of my displays, can store a high amount of energy for a long time after disconnecting them from power.
I didn’t want to buy new capacitors, even though they are available for low prices and you can even buy a full repair kit online for commonly failing displays. Instead I went through even older hardware in the house and scavenged still functioning capacitors. Mostly you have to look out for three things:
- New capacitor has correct characteristics
- New capacitor fits into space of the old one
- Install the new capacitor the right way or more hardware might blow up (negative stripe on capacitor to white mark on board)
Once I found replacement capacitors I desoldered the broken ones and replaced them. Surprisingly these capacitors from TVs from the 80s still work just fine. My plan was to buy brand-new capacitors once they fail, but it never happened.
In hindsight it’s certainly curious to repair old hardware with parts from even older hardware.
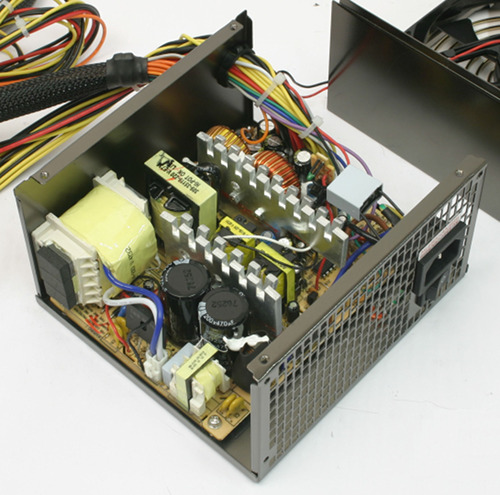
Power Supply Units
The same story didn’t just happen with the PSUs inside of both of my displays, but also with the power supply unit of my computer. I fixed it in the same way and the PSU still works to this day. But since my LC Power LC6420 was never very efficient I bought a replacement anyway, the more efficient HuntKey Jumper 300G.
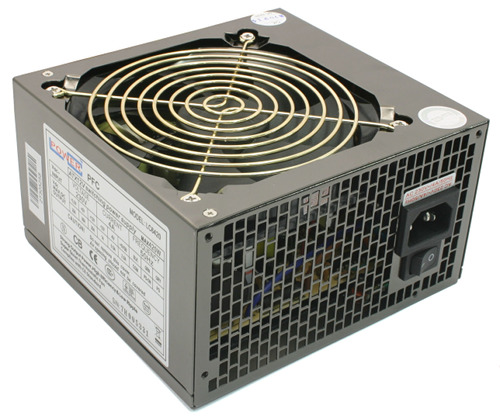
Unfortunately the new PSU turned out to be too loud for my taste, so I opened it up immediately and noticed that the fan was fixed to 12 V. I reconnected it to 5 V instead and tested that the PSU does not overheat with my system even at high load. I wouldn’t recommend doing this since it immediately voids the warranty and the PSU can overheat easily. Ideally just buy a modern PSU which controls its fan properly based on the internal temperature.
Computer Case
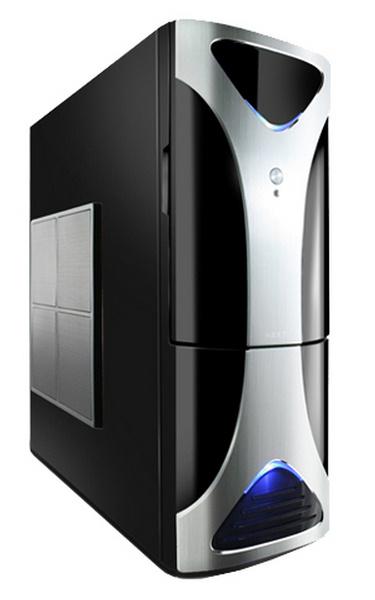
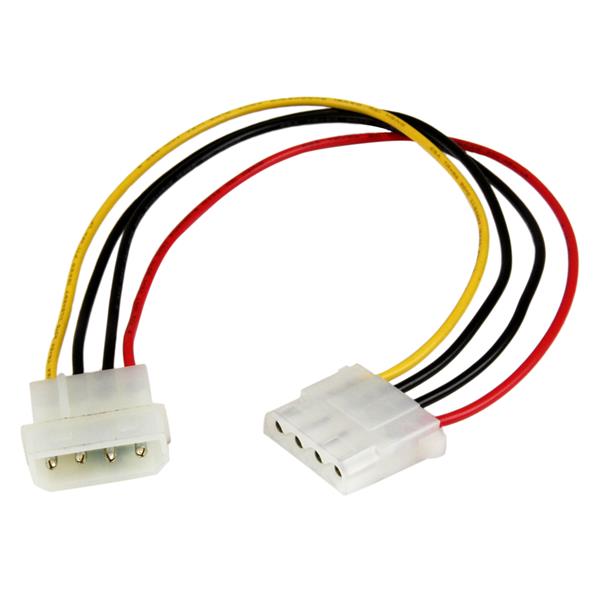
I wasn’t just annoyed with the noise of my PSU though. In the same vein I also switched all 7 case fans of my NZXT Zero from 12 V to 5 V, thus reducing the amount of noise significantly. The fix is simple and does not require any soldering. Instead I used a molex extension cable for the fans and switched its 12 V line to 5 V
The trick here is to remove the pins from the molex cable with a small screwdriver, and switch them around so that 12 V and 5 V are switched, which is quite simple. I just had to make sure that my computer stays cool enough, but with 9 fans in total running inside of it that was no problem, even in the nearly noiseless state of running at 5 V.
The CPU cooler can be controlled by fancontrol on Linux and only spins up
when the load is high, otherwise the CPU can be cooled passively, just using
the slight flow of air from the case fans.
Random Access Memory
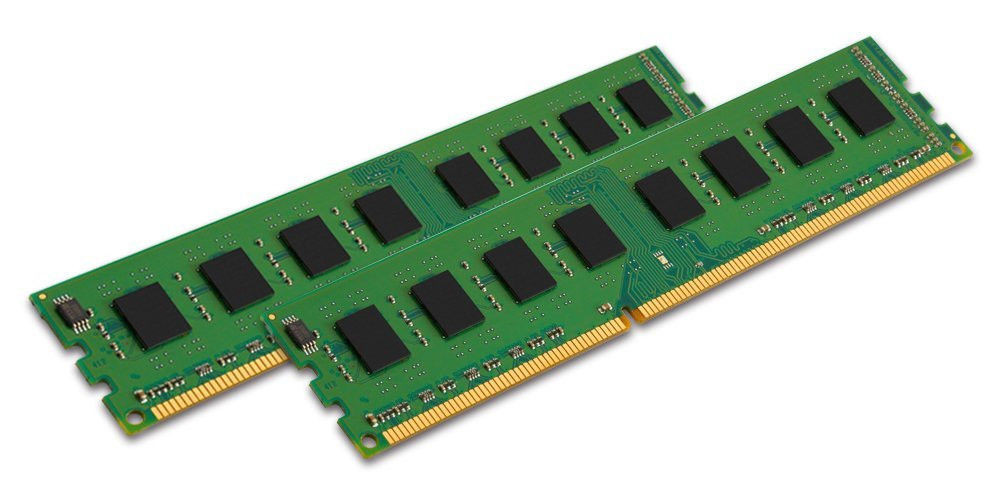
Finally let’s get to an entirely different problem, for which I didn’t even suspect a hardware fault: I’ve been using Gentoo for nearly the entire time, which means I ended up compiling my own programs and libraries. Compiling a single large-scale C++ library failed again and again, at seemingly random positions. The g++ compiler always complained about internal compiler errors. At first I assumed this was a bug in the GNU Compiler Collection, so I switched to other versions, but got the same error in each of them. At some point I noticed that the memory usage increases to multiple GBs when compiling this library and that’s when it hit me: My main memory might be defective and with most programs I just don’t notice.
I booted into Memtest86+ to run the memory benchmark and, lo and behold, a single byte of my RAM was broken. These were my choices on how to fix this:
- Remove the RAM module, but then I don’t get the speed benefit of dual channel and am missing out on 2 GB of RAM
- Buy a replacement module, but that costs money
- Tell the Linux kernel to ignore the broken part of the memory and use the rest of the module
Of course I went with choice 3. A simple Linux kernel parameter
memmap=1$0x0007cec2d74 in GRUB marks 1 byte at the address 0x0007cec2d74 as
reserved ($), preventing the system from using it as regular main memory. A
reboot later everything worked again and I could compile the C++ library. It’s
possible that further parts of this memory module will break in the future and
you have to repeat this process to disable them as well, but so far this has
not happened.
Working around hardware problems with software is cool. And it’s not like I notice a single byte of memory missing.
Graphics Processing Units
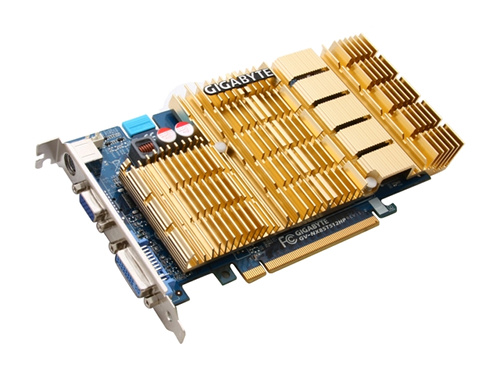
My graphics cards like to break. I don’t really play much except for some 2D games, so a good GPU never mattered to me. The GeForce 8500 GT started to show graphics errors after a few years, even while booting, which led me to believe that the problem was on the hardware side and not software related.
Putting the GPU into an oven and baking it for a while fixed the problem for a few days by resoldering cracked solder points, but then it returned. This is probably related to the switch to lead-free solder in 2006, which is more brittle.
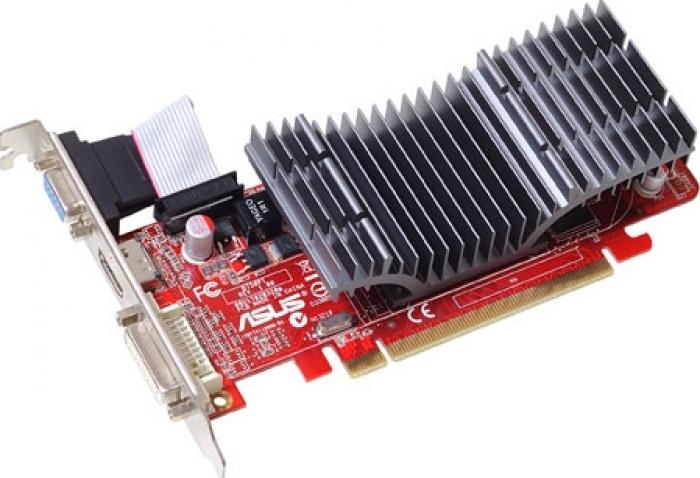
I didn’t want to keep baking my GPU, so I used another GPU I had lying around, which someone else had thrown away: A Radeon HD 4350
Mouse
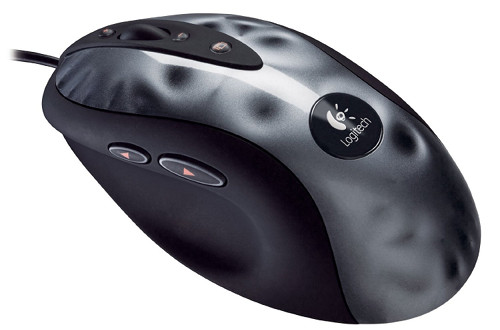
The Logitech MX518 did its job great for the entire time. About 1-2 years ago the left mouse button stopped working reliably though. When keeping it pressed it sometimes released on its own at unpredictable moments. That’s a huge problem while playing something like DDNet.
The first step was of course to open up the mouse. What I saw was that the plastic of the mouse buttons was worn out to the point that it could barely press down the actual button inside of the mouse. I reinforced both mouse buttons with a small piece of thin cardboard. Since then the mouse has not made any further problems and the buttons work absolutely reliably.
Keyboard

I’m using a cheap Logitech Ultra Flat-X keyboard, which doesn’t feel terribly different from a good Thinkpad keyboard. I replaced the green LEDs with blue ones, but that was just an aesthetic change and was easily done with some more soldering.
Unfortunately dust and dirt always accumulate under the keys of a keyboard. If this keeps going for long enough some keys become unusable, so I took out all the key caps every year or so to wash them and clean the space below them. Unfortunately the scissor mechanism on cheap keyboards is quite fragile, so you have to be careful not to break your keys. I don’t need a numpad, so I used the numpad keys as replacements.
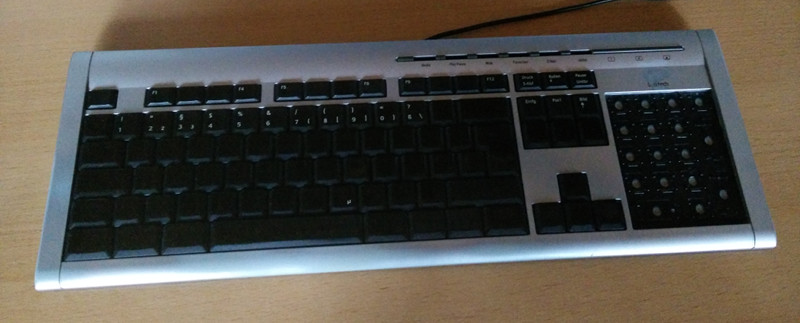
After a few years of usage the key labels wear off. So instead I sanded the key labels off entirely, leaving clear key caps which look much better even after many more years of usage. Unfortunately by now the key caps have become so thin that they are starting to break apart, so it’s definitely time for a new keyboard.
Printer
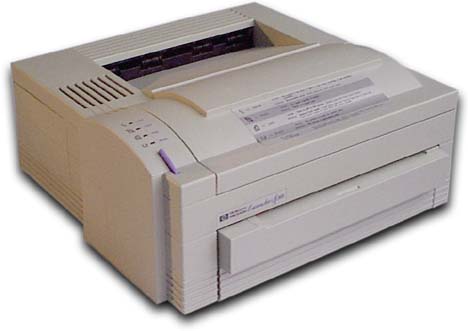
This is the oldest piece of hardware in the list so far. This HP LaserJet 4L has been in continuous use for about 23 years. The only serious thing you need to worry about with it is to have fresh toner cartridges if you plan to print extensively. Luckily I got 10 full toner cartridges on eBay for 1 €, taking care of this problem.
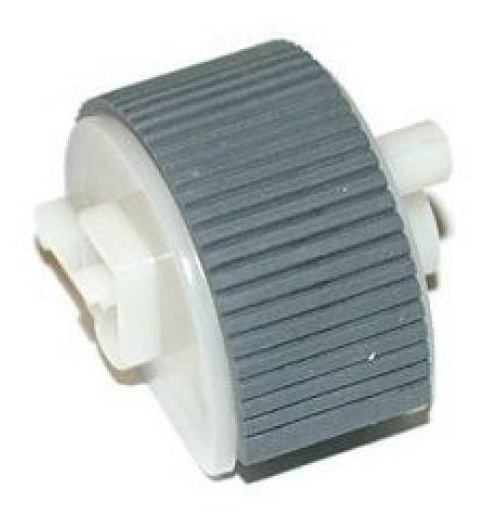
The only part of the printer I had to replace was the pickup roller, which became unable to pull in any pages. I tried cleaning it, but in the end decided to just buy a cheap replacement part, which is easy to find in online shops, even 23 years after the introduction of the printer.
Headphones


My headphones were not really broken, but rather are a chimera. The base are cheap Superlux HD-330 headphones (29 €), a not-so-subtle clone of the Beyerdynamic DT-770 Pro (137 €).
Nevertheless they still sound fine to me, but I don’t claim to be an expert. Since I didn’t like the cable I used the old nylon cable from my previous headphones and soldered them in as replacements. A little bit of soldering gets you quite far.
Instead of using the included fake leather ear pads I bought the original ear pads from Beyerdynamic (21 €), which cost nearly as much as the rest of the headphones.
Amplifier
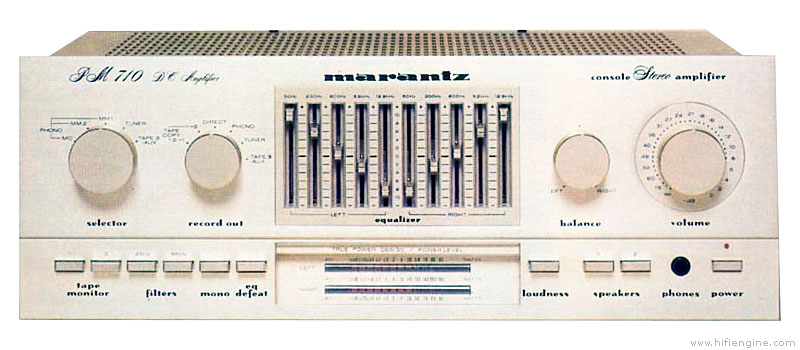
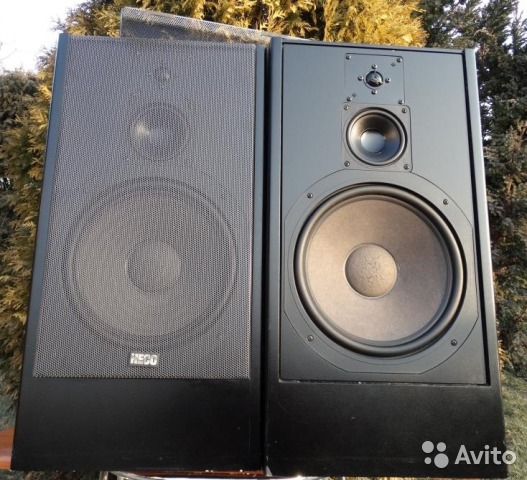
Finally here’s the oldest part of my setup: A Marantz PM710DC amplifier from 1980 and HECO Superior 700 speakers from around 1985. The speakers still sound just fine. The amplifier on the other hand is showing its age:
The analog potentiometers are filled with dust and you hear a crackling sound when adjusting the volume. Blowing on them with some compressed air and moving the potentiometer a few times entirely removes the crackling for me. In more serious cases potentiometers can also be cleaned with contact cleaner or simply be replaced with some soldering.
Desk Light
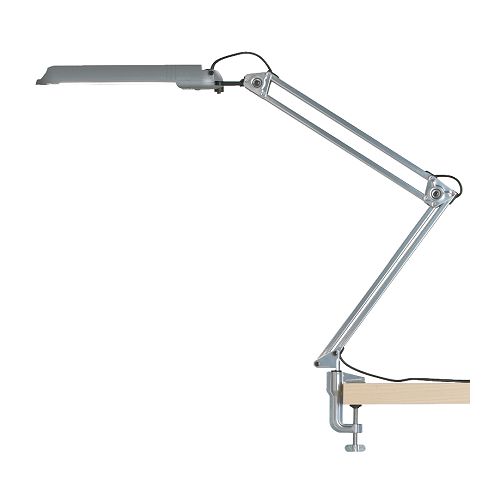
The IKEA Global work lamp is quite useful, as it can be attached to many surfaces with a clamp and can be moved flexibly. Unfortunately all the flexible movement kept weakening the plastic connection between lamp and metal arm. In the end the plastic simply snapped off. My plastic glue didn’t work with this kind of plastic, so I decided to work around the problem instead.
Using a few pieces of paper as a buffer the lamp can be inserted into the clamp directly. Now I have the lamp fixed directly above the desk instead of being able to move it around freely, but that’s not a big problem because the entire desk is still well-lit.
Network Cables
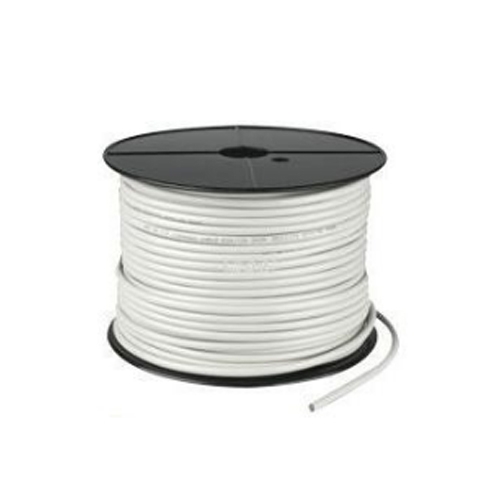
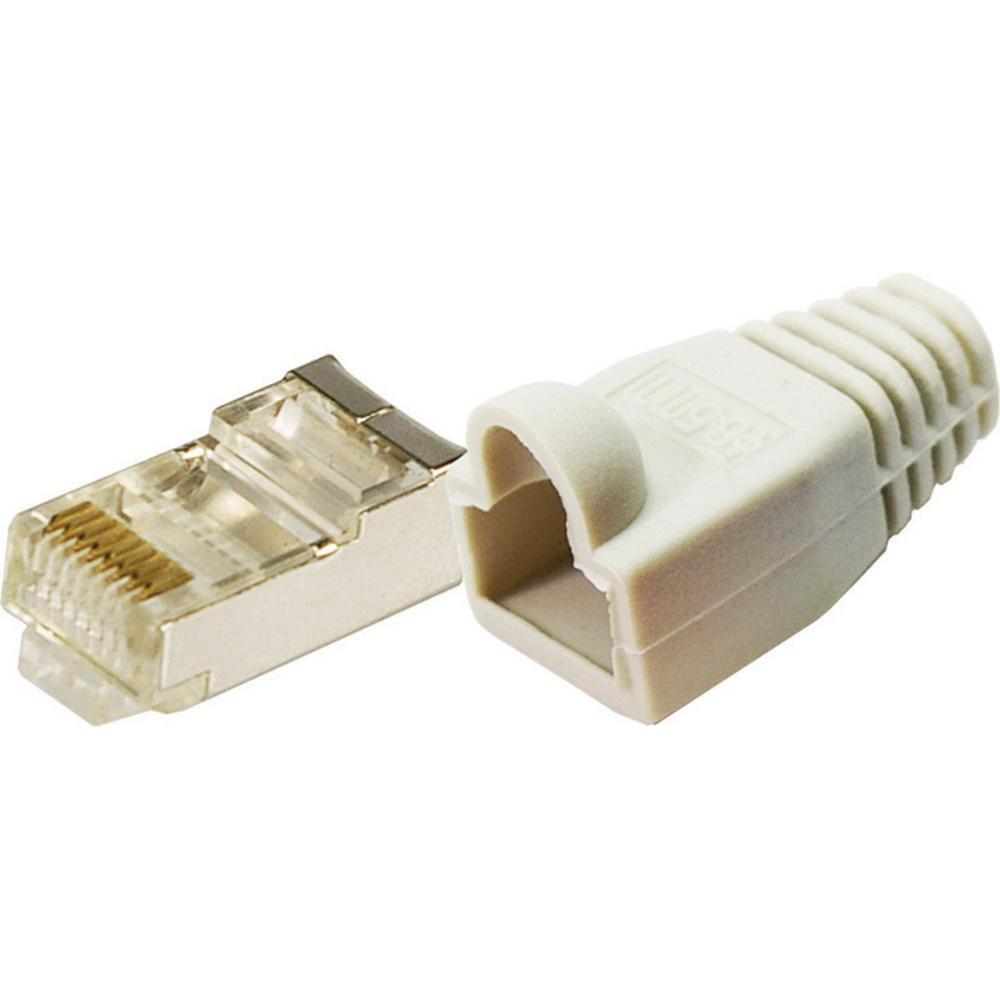
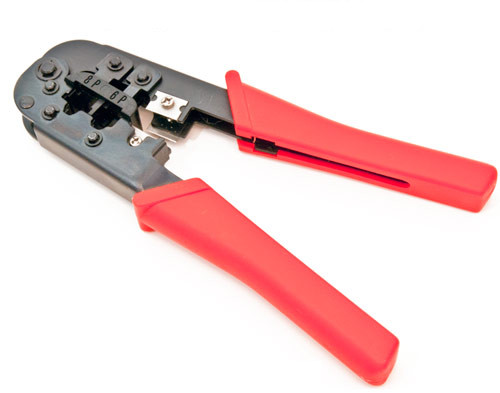
I used to have lots of old Ethernet cables, some working only up to 100 Mbit/s, others not working at all at times. Instead of buying many new Ethernet cables, I opted to buy a 100 meter roll of high quality CAT5e Ethernet cable, a hundred RJ45 jacks and a crimper tool. Finally I can build as many cables as I need with the exact lengths I prefer.
Laptops
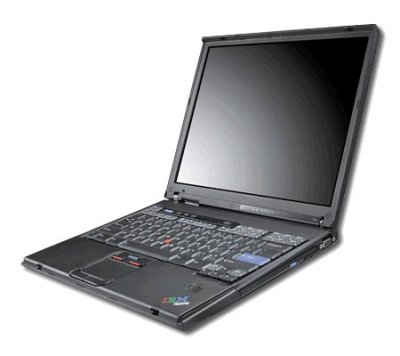
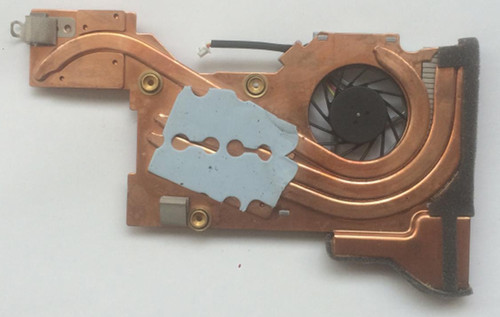
Initially I had a used Thinkpad T43p from 2005. After a few years of running Gentoo on it and compiling too many packages the fan broke. Fortunately replacement fans are easy to find and opening up and repairing old Thinkpads is a blessing. Printed on the bottom of the laptop you are instructed how to open which part of the laptop. There are official guides for replacing any part of the laptop.

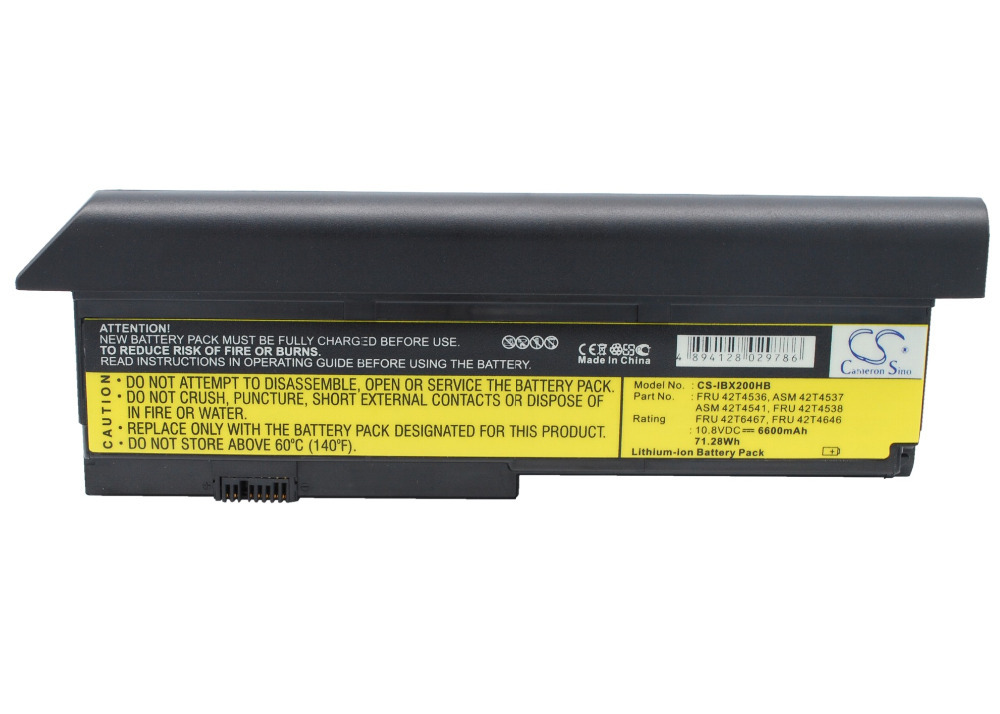
Since 2010 I’m running a used Thinkpad x200s. The only problem it ever had was a broken battery. But since the laptop features replaceable batteries installing a cheap replacement battery from eBay is a matter of seconds.
Home Servers

Broken Thinkpads make good servers. I had an old, very broken Thinkpad T42 lying around. The screen did not work and it could only be powered from the battery, while it didn’t run on AC power at all and couldn’t charge the battery either. My solution was to remove the screen entirely and build a small adapter with some soldering to connect AC power to the battery connection directly, leaving out the battery.
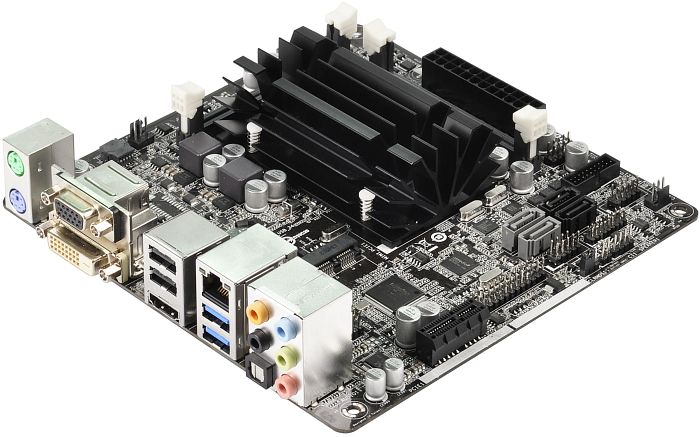
This worked as a home server for a few years, until the performance of such an old Pentium M system got too low and I switched to a totally passive Q1900-ITX system in 2014.
Conclusion
All in all I would say that the hardware held up reasonably well and when it broke it was usually possible to fix it without replacing the entire device. More repairable hardware would still be a huge bonus, especially since the industry has been moving in the opposite direction with ever smaller and more compacted devices.
Maybe someone who read this post found it interesting and will have fun fixing their own hardware (or trying to) once it starts malfunctioning.
I wrote this up on the exact hardware described in this post, while waiting for my new hardware to arrive in the next days. I hope build quality and repairability of PC hardware haven’t gone down in the last years. But only time will tell.
Discussion on Hacker News and r/Hardware.