New Hardware and Hacks
2016-07-03 · HardwareIn my latest post I showed some examples of how I ran mostly the same PC hardware over a period of 8 years. Today I finally finished setting up my new PC hardware in my new home, so I can report about what I did differently, my thought process, and some problems I encountered and hacks I did to solve them.
I’m not sure if this article is interesting for anyone, but I had some fun setting the new system up and felt like writing about it, so here we go:
Case
I wanted a smaller case since the old one was a huge ATX tower with way too many useless ports and fans. I still want a pretty performant system, so an Intel NUC is out of the question. I don’t need a GPU, since the most challenging graphics I need is DDNet client, which easily runs at 400 fps at 1920x1080 and 130 fps at 3840x2160 on Intel’s HD Graphics 530 IGP integrated on Skylake CPUs. But it’s still nice to have a PCIe port in case you ever need it. So Mini-ITX it is.
Unfortunately the Streacom DB4 is not available yet, as it would have made for a beautiful silent Mini-ITX cube. Instead I went with the In Win Chopin, which is even smaller, features no GPU port and has a small integrated PSU rated at 150 W. I was a bit worried about the PSU being strong enough, but you can read more about that later in this post. There really aren’t that many good-looking and reasonable Mini-ITX cases.

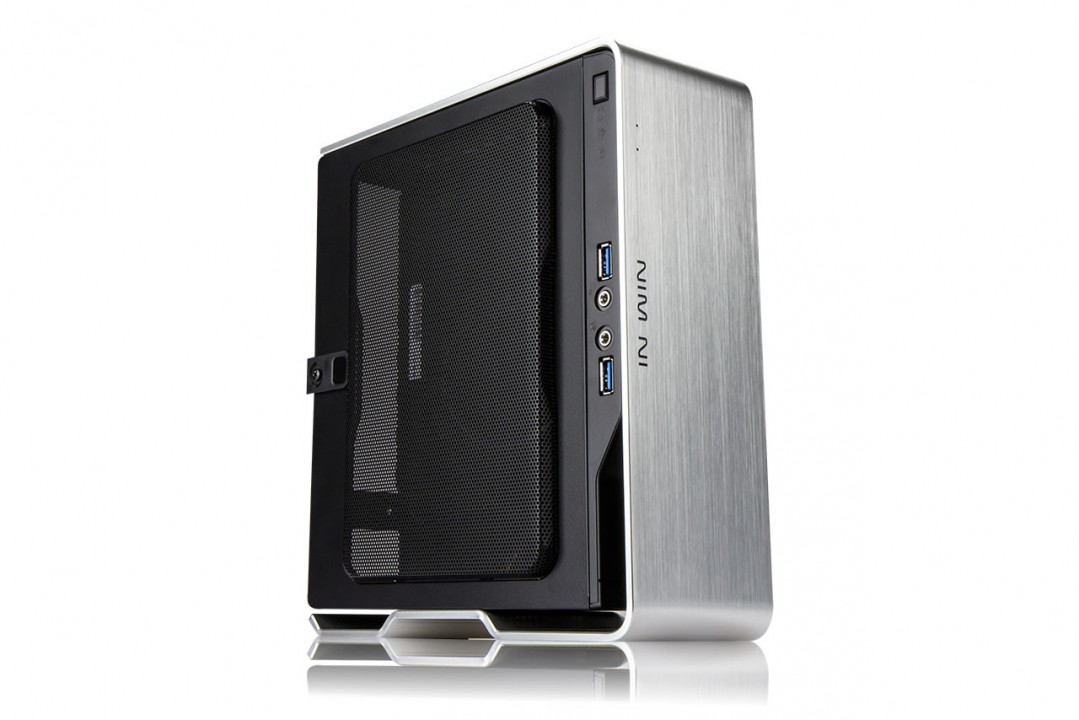
The idea of the In Win Chopin is to use the CPU fan as the only fan to cool the entire case, pulling air directly from the side, pushing it out of the top. That’s a stark contrast to my old machine with a total of 9 fans whirring inside the case.
CPU Cooler
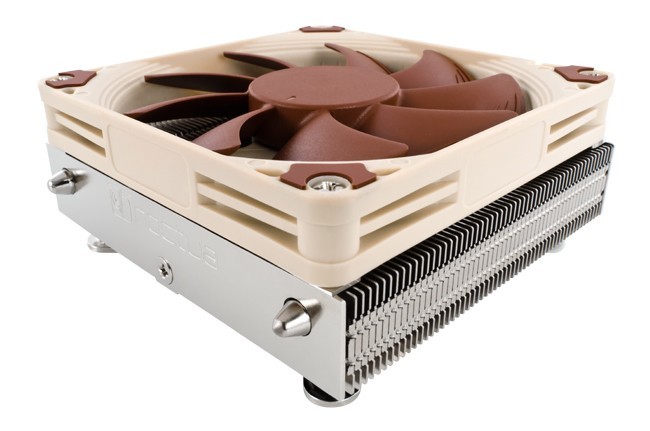
Of course that means I need a good CPU cooler for the small space. With just 43 mm space for the cooler my choice fell on the Noctua NH-L9i. Unfortunately the manufacturer claims a 91 W Skylake CPU barely runs with the NH-L9i. So let’s check out the CPU and measure some actual temperatures. Even though I switched to a small form factor, another goal of mine is still to keep the noise down to a level where I don’t notice it.
CPU
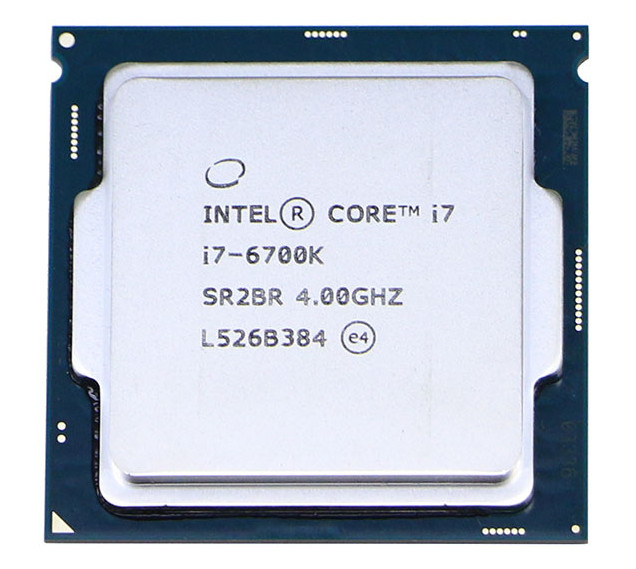
There are just two 91 W Intel Skylake CPUs and my choice fell on the i7-6700k. Since I never had a failed CPU before and planned to play around a bit with the CPU anyway, thus voiding the warranty, I decided to get a pre-owned one for cheap. Apparently the CPU was unused, but I wouldn’t believe that.
There are much nicer Xeon CPUs, especially if you’re willing to risk the problems of running an engineering sample, but I wouldn’t be able to cool them properly, wouldn’t need all that performance in the end and miss out on the IGP (integrated graphics processor), needing a separate GPU instead, taking up more space.
Unfortunately it turns out that Skylake can only decode 8 bit H.264 and H.265 in hardware, while most sources are switching to 10 bit, including UltraHD Blu-rays and Netflix. If I had the chance I might have waited for Kabylake, Intel’s next CPU release.
At first I installed the i7-6700k with the regular Noctua thermal paste and used it like that for a few days. Unfortunately the system ran louder than I wanted. And changing the fan settings was not a solution since the CPU reached 80°C at load. Clearly I needed a better solution. I already expected this and had some Thermal Grizzly Conductonaut liquid metal thermal paste ready to use.
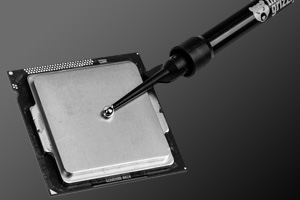
Liquid metal thermal pastes conduct heat much better than regular thermal pastes, but unfortunately they also conduct electricity, so you have to be careful when applying them. Usually people use this thermal paste to achieve better overclocking, but my goal is opposite, for now I want a more quiet system running at low power. Maybe I’ll overclock if I ever need the extra performance.
So I delidded my new CPU by removing the heat spreader with a razor blade. You need a very careful hand for that as a single scratch into the PCB could ruin your CPU. Of course this also voids the warranty if you have one. I removed the regular thermal paste between the CPU die and the heat spreader and applied the Conductonaut instead. The heat spreader can be reattached with regular silicone from a hardware store. Finally I used the same Conductonaut thermal paste between the heat spreader and the cooler as well.
Finally I dared to start my system again, luckily everything still seemed to work and I couldn’t quite believe the new temperatures: Instead of 80°C at load I now had just 60°C. I was hoping for a 10-15°C improvement, so that was a nice surprise.
My last step was to undervolt the CPU and IGP as far as they would go. You have to be careful about system stability with this. I set up a few different work loads to test stability. This further reduced the load temperature to 55°C. That’s a temperature I can definitely live with and doesn’t even require full fan speed to keep up. At regular light usage the CPU stays at 30-35°C and I can’t even hear the fan. I don’t dare to turn off the fan entirely, since it’s the only active cooling solution for all the other components on the mainboard as well.
Screen
In a few months Planet Earth 2 will air in Ultra HD. Since I’m a huge fan of David Attenborough and nature documentaries in general I clearly need a screen capable of showing it. I also want to use my screen as a television at the same time, so this fits in well.
So the plan was to get a 40” screen with a 3840x2160 resolution, which enables me to work as if I have four 1920x1080 screens, positioned in a 2x2 grid. Luckily this is pretty simple to setup with xmonad, my window manager. Using the LayoutScreens module I can switch between pretending to have a single large screen or 4 small ones. Since xmonad configuration is just Haskell programming more layouts would of course be possible, but so far I’m happy with this setup.
It turns out that there is still a problem here which I can’t quite pinpoint yet: When I use xmonad, mpv, NetWM support, 3840x2160 resolution, and the Intel IGP driver’s TearFree setting, memory leaks and after a few minutes of watching some video all 32 GB of RAM are used up and a process is killed. Changing any single component in this list gets rid of the problem. For now I use DRI3 instead of TearFree, which has slight tearing only in very special cases that I never encounter in regular usage.
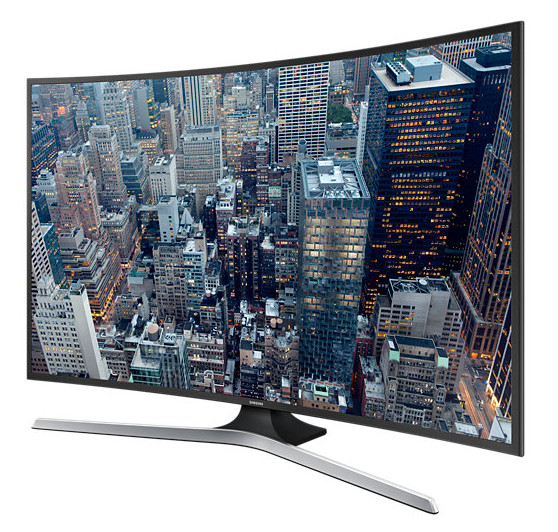
But one problem I imagine to have with a large screen is that the left and right edges are so far away that they look distorted. After all when I use two regular screens I rotate them a bit so I can look at them head-on. So instead I wanted a curved screen to correct the distortion and get a similar effect to having the screens rotated. I’m not really convinced of curved screens for a pure TV setup, but as a computer screen they are great.
Luckily the Samsung UE40JU6740 fit all my requirements and was available for cheap since it’s last year’s model. Getting it to display 3840x2160@60Hz with reasonable colors is a bit challenging though. There are even guides about how to properly set these TVs up as computer screens. In the end I have a far better picture than with my old screens, but the input delay of 40 ms is noticeable when playing DDNet. Since I don’t play much I don’t mind and in case I ever need it it’s possible to get it down to a more reasonable 20 ms at the loss of color accuracy.
Mainboard
But now I faced a new challenge: TVs generally don’t support DisplayPort, so in order to get 3840x2160@60Hz HDMI 2.0 is required. That’s another thing Skylake CPUs don’t support, so I had two choices: Get an external converter from DP 1.2 to HDMI 2.0, which Club 3D offers. Or alternatively get the only Mini-ITX mainboard with HDMI 2.0, the ASRock Z170 Gaming-ITX/ac. So now I have a gaming mainboard even though I don’t want to game, oh well.

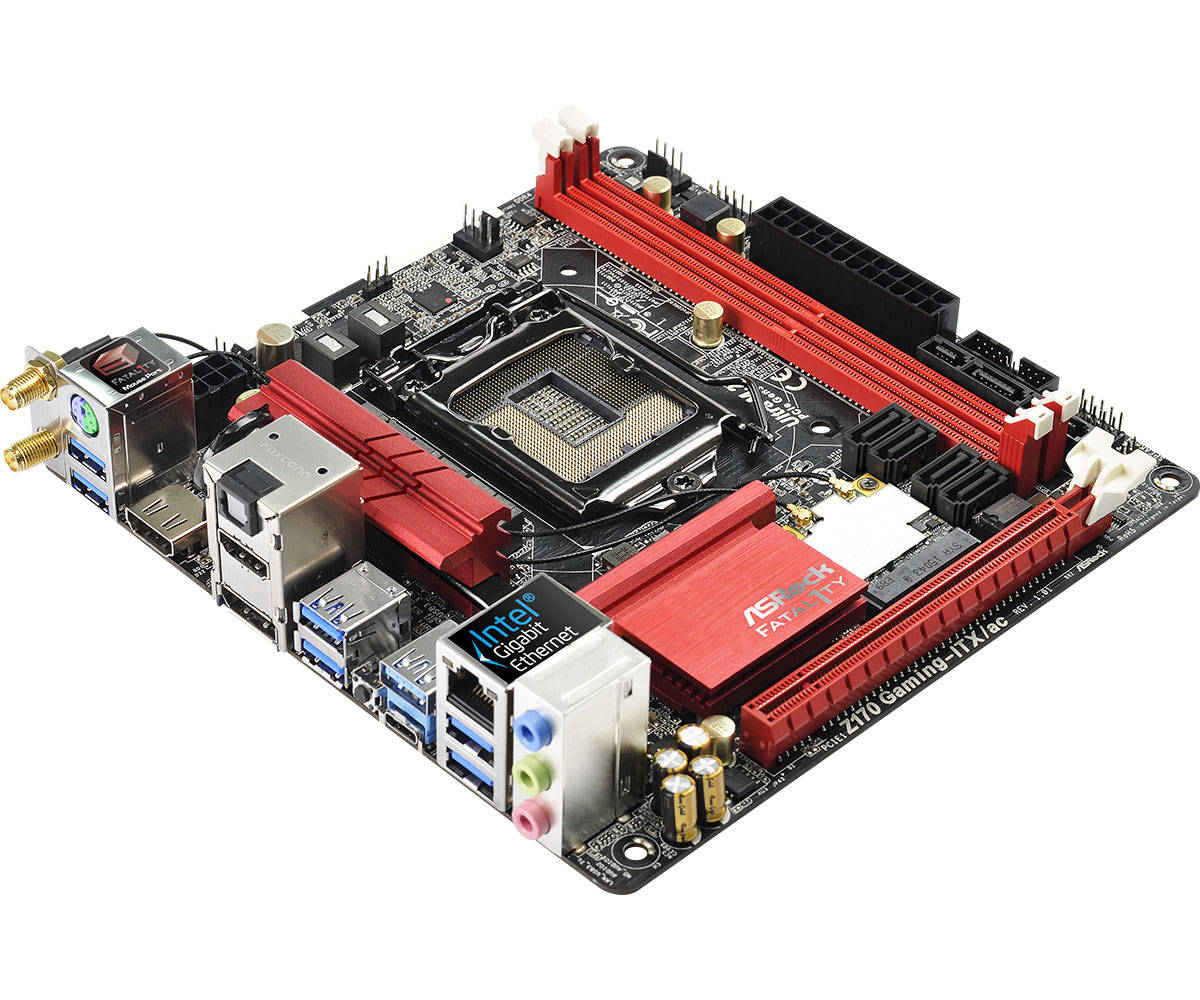
In the end both the Club 3D adapter as well as the ASRock motherboard have nearly the same chips inside, a MegaChips MCDP28.
Unfortunately the board still has a few issues even after having been released nearly a year ago:
Using the HDMI 2.0 port at 3840x2160@60Hz causes a frame with artifacts every few minutes, both in Windows and Linux. In Linux sometimes the screen goes black entirely when I switch on stereo HDMI audio, while mono works. My assumption is that this is a bandwidth or synchronization problem. So for now I disabled HDMI audio and this seems to fix the image artifacts. I never planned to use the HDMI port for audio since I still have my fancy amplifier and speakers, but it would be nice to get this working.
Another temporary workaround to get working HDMI 2.0 audio on Linux is to user
another CRTC manually by running xrandr --output DP2 --crtc 2. But in my
experience it’s not 100% reliable and I’m not even sure why it works.
Actually ASRock offers a firmware update for the MegaChips HDMI 2.0 chip, but it doesn’t run on my system and I’m still talking to the support about it.
The next issue was that resuming from S3 sleep was broken, also both in Windows and Linux. I assume this might also have to do with the HDMI 2.0 chip, but I’m not sure yet. So far my only solution is to keep using an older BIOS version (1.8) which does not exhibit this problem.
Instead I get a very strange issue after resuming from sleep. In DDNet client I get 40 fps instead of 500 fps after the first sleep cycle. My first idea was that it had something to do with the IGP and power saving, but I couldn’t find a way to pinpoint it. Finally I noticed that some screens in DDNet have far fewer FPS than others. Finally it dawned on me: The more text is shown on screen, the slower it gets.
Nevertheless it had nothing to do with font rendering. Instead the font
rendering system in DDNet client, which is inherited directly from Teeworlds,
needs to call the gettimeofday syscall A LOT. Checking dmesg then confirmed
that after a S3 sleep the Linux kernel clock source switched from TSC to HPET:
Jun 28 22:49:23 al kernel: TSC synchronization [CPU#0 -> CPU#1]:
Jun 28 22:49:23 al kernel: Measured 3072272461 cycles TSC warp between CPUs, turning off TSC clock.
Jun 28 22:49:23 al kernel: tsc: Marking TSC unstable due to check_tsc_sync_source failed
Jun 28 01:17:48 al kernel: clocksource: Switched to clocksource hpet
Manually setting tsc=reliable makes the clock run backwards after a sleep
cycle. From what I read it sounds like the BIOS is erroneously changing some
TSC registers at suspend or resume. I didn’t find a way to fix these registers
again in the Linux kernel.
Fortunately the support quickly gave me a BIOS that is supposed to fix this issue. Unfortunately I can’t test this since every BIOS version newer than 1.8 doesn’t resume from S3 sleep at all for me.
Instead I did the best I could and fixed DDNet client to call clock_gettime
two times per frame instead of potentially thousands of times per frame (once
for each text glyph that is rendered). Some measurement showed that getting the
time with TSC requires 18 ns, while HPET needs 4700 ns on my system, quite a
remarkable difference.
Storage
As a nice bonus the mainboard also has an M.2 port on the backside, so I can run a fast Samsung SM951 SSD. Unfortunately being located on the backside of the mainboard means that air circulation is rather bad, so the SSD runs at a temperature of about 50°C.
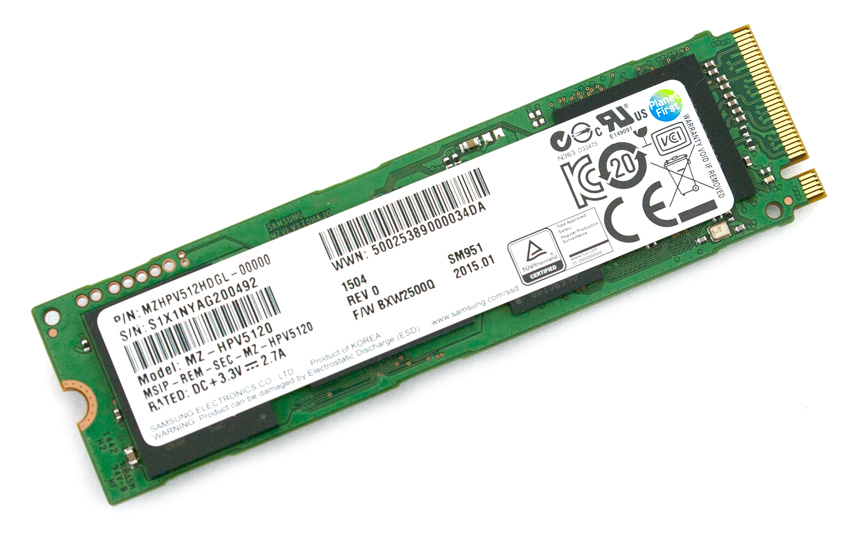
If this becomes a problem later I can try a thin thermal pad to get contact between the SSD and the metal plate inside the case, thus using it as a cooler.
RAM
For memory I actually just bought the cheapest 32 GB DDR4 kit from Crucial at 2133 MHz. Turns out that you can undervolt the RAM a bit and still overclock it to 2700 MHz. That helps the IGP a bit, but is otherwise not really noticeable. It turned out that you actually need dual channel RAM to achieve 3840x2160@60Hz, so memory bandwidth is actually a concern.
Keyboard
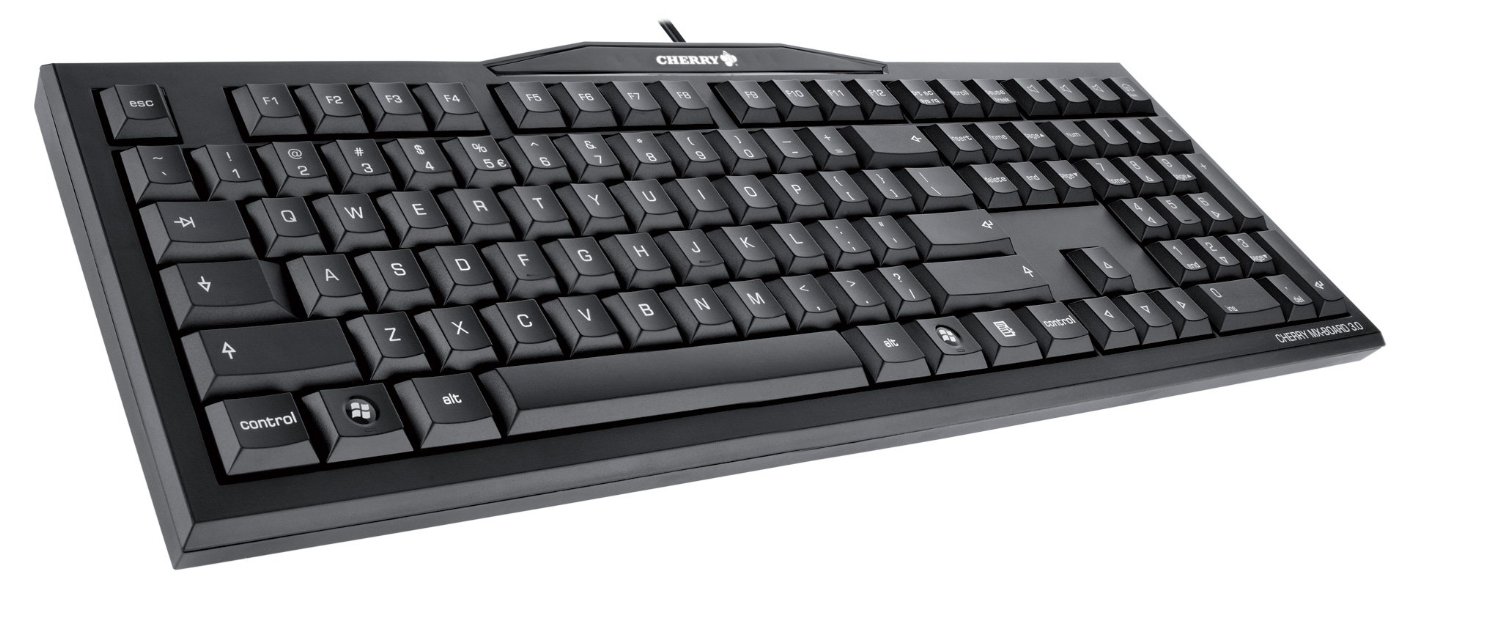
My choices regarding a keyboard were very limited. I wanted a flat keyboard but no rubberdome since they kept annoying me with their inconsistent feeling and bad quality. The only keyboard to fit these requirements was the Cherry MX-Board 3.0. With MX-Blue switches it’s quite loud to type on, but makes my other keyboards feel incredibly cheap.
Mouse
Actually I rarely use a mouse since I feel at home in the terminal and use a few programs with vim-like key bindings, like the Pentadactyl extension for Firefox. Still I sometimes like to have a mouse and I want it to fulfill two purposes:
- Regular use next to keyboard, for example for casual gaming
- As a remote control from my couch for watching movies
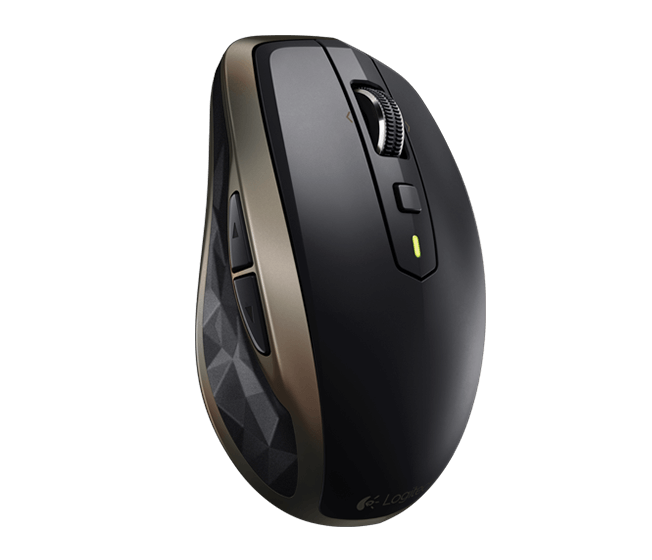
The first is easy to fulfill of course, you could even buy 2 cheap mice from eBay for 1 € including shipping. The second purpose requires a wireless mouse that works well on any surface, a perfect application for the Logitech Anywhere MX2. It even feels a bit like a small version of my old MX518, quite a nice bonus.
To actually use the mouse as a remote control for movie watching I had to set a
few mouse button binds in mpv, my video player:
MOUSE_BTN5 run "mixer" "pcm" "-2"
MOUSE_BTN6 run "mixer" "pcm" "+2"
MOUSE_BTN1 cycle sub-visibility
MOUSE_BTN7 add chapter -1
MOUSE_BTN8 add chapter 1
Now I can move through the movie manually or by chapter, switch through audio tracks, enable subtitles and switch through them, change the global system volume, toggle fullscreen, and pause and play. That’s quite enough for me.
Since I barely touch the mouse I expect the battery to last forever. And since my mainboard already supports Bluetooth, I used that instead of the dongle.
Unfortunately you have to extract the Bluetooth firmware from the Windows driver.
Power Consumption
Initially I was worried about the 150 W PSU of the In Win Chopin. But after some measurements my concerns turned out to be unnecessary. Since I undervolt my CPU instead of overclocking it, the maximum I managed to achieve by putting high loads on CPU and IGP at the same time was 90 W, measured at the wall. At regular usage the system needs about 16 W, which I consider to be a pretty fine result for such a powerful machine.
Final Result
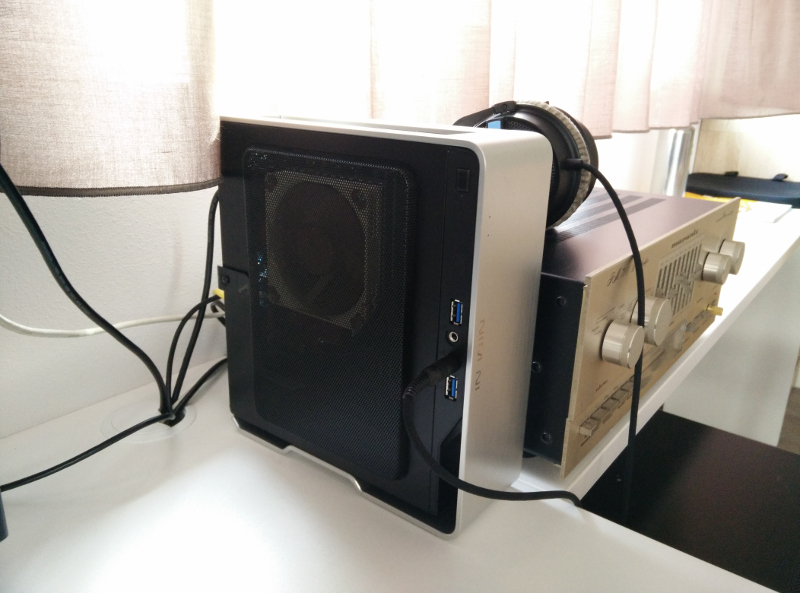
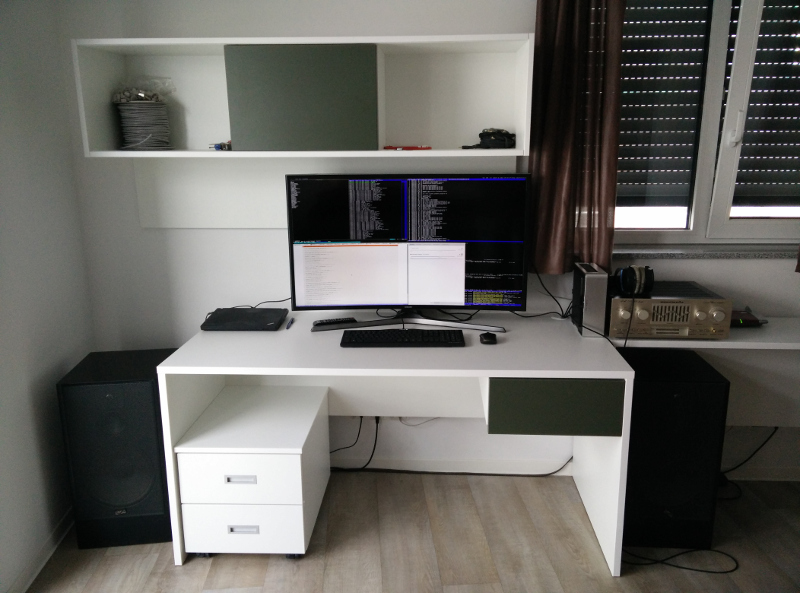
The final build assembled in its new environment, where I’m sitting right now on a Sunday morning to write this:
Closeup of the computer case: